
Whether you’re building a new house from the ground up or renovating an existing room, it necessarily must be cleaned the right way before you and your family can safely enjoy your new addition. If you have ever built a deck, redone kitchen counters, or even painted a room, you know that the job does not end when the last tile is laid. No matter how thoroughly you’ve taped and tarped, home construction leaves debris that demands to be safely and effectively removed. An incomplete or poor cleanup can lead to long-term damage of surfaces and appliances, or even hurt the health of the people living in and using the space.
Some of us have a more backseat approach to home construction projects or renovations. After all—building, renovating, and finally cleaning a house are intensive, time-consuming jobs that can be difficult to balance with work, family, and other grown-up obligations. Unfortunately, most contractors will only perform their specialized duty—be it plumbing, tilework, or carpentry—leaving you with the mess to clean up after.
If doing the post-construction cleaning is not your scene, Cobalt Clean is proud to offer Las Vegas’s premier post-construction residential cleaning service. Call us at (702) 518-5312 or schedule an appointment to get a quote now!
If you prefer to personally take the lead on your home construction projects and now find yourself managing the cleanup, too, read on for instructions and tips on how to tackle the job without needing to call in the professionals. Be forewarned: Post-construction cleaning is an intensive process that can take multiple cleanings over many weeks; but that feeling when you finally take off the gloves, put the broom away, and settle into your new bathtub or slide over your spotless new floors for the first time is… well, adulthood has its moments.
Home construction or renovations can take many forms depending on the job and the room where it takes place, but here we have included specific tips for cleaning up the following areas of your home after most home construction or renovation projects:
- Hard Surfaces and Woodwork
- Carpeting and Furniture
- Appliances, Windows, and Tile
- Ventilation Systems
Here are some pro tips for before, during, and after your post-construction cleanup job:
- It pays to prepare. A little preparation can go a long way in shaving hours or even days off your post-construction cleaning. As best you can, try to confine your mess. Before beginning construction, consider using plastic sheeting and painter’s tape to seal off appliances, air vents, carpeting, and other areas that are not being worked on, but that will be difficult or time-consuming to clean later. Again in case you missed it, and especially if you plan on (contrary to our recommendation) leaving your HVAC system on during construction: Seal your air vents.
- Start from the outside-top, work your way in. To minimize the time you will spend going over areas you have already cleaned, strategize a way to clean from the outside in. Begin with ceiling vents, fans, light fixtures; then move to windows, doors, and walls; from there, work your way inward to isolate the mess and prevent tracking construction debris or dust settling on areas you have already tended to. Remember that dust falls and settles, so try to save things closest to the floor for the end.
- Dust to dust mud. The most effective way to remove dirt, dust, and other debris is to let it dry, then vacuum or blow it out. Taking a wet rag or mop to built up dirt will turn it to mud, and wetting other debris will make it heavier and harder to pick up. If your plan is to lump the mess together so that it can be picked up more easily, consider picking up a sweeping compound from your local hardware store. This is a sawdust-like mixture that attracts debris so that it can be swept or vacuumed up more easily.
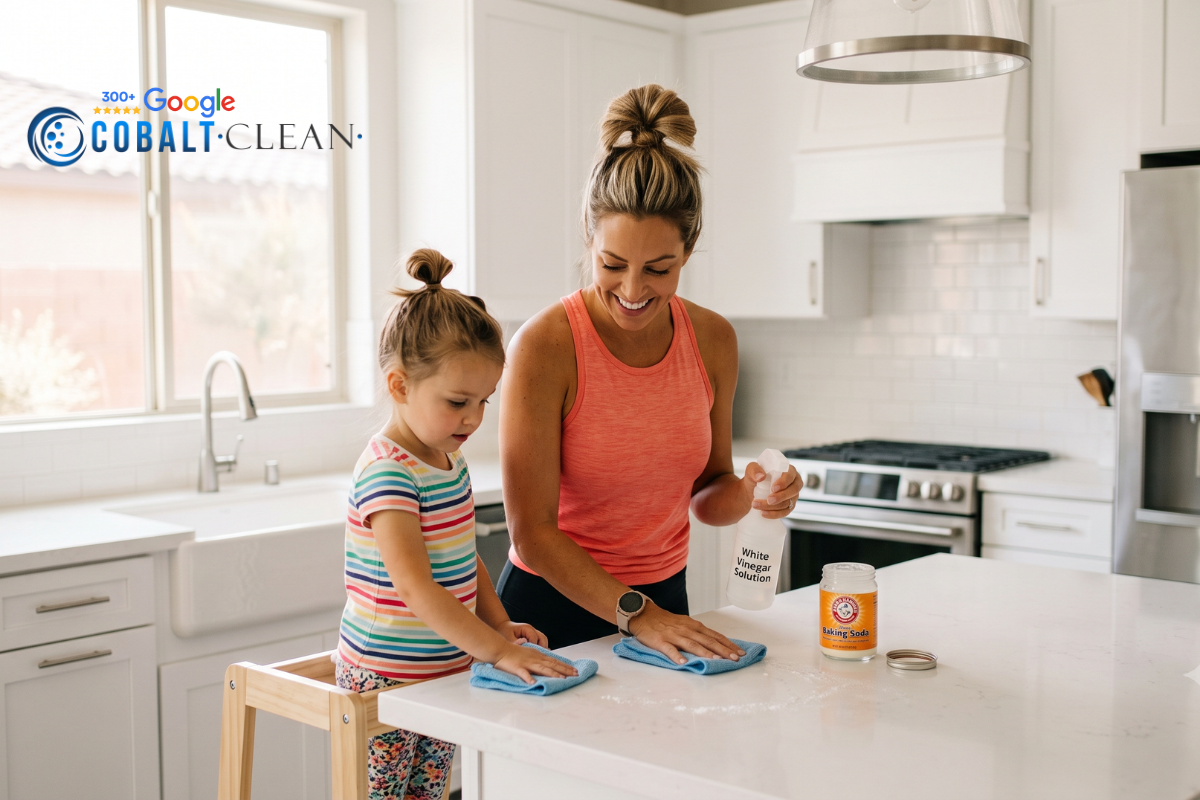
- When in doubt, vinegar it out. Far and away the most popular homemade domestic cleaner is white vinegar. Mixing white or apple cider vinegar with hot water produces a powerful sanitizing compound that eliminates dirt and dust on just about any hard surface. Whether it is in the kitchen, the bathroom, or the living room—if you do not have a specialty cleaner for the job, vinegar is a timeless remedy. Generally, the higher the ratio of vinegar to water, the more effective spot removal will be. For particularly tough jobs, specifically in the sink or bathroom appliances, baking soda mixed with vinegar is an extremely reactive compound that can be corrosive against stains.

BEFORE YOU BEGIN on your cleanup, there are some important details to consider:
- Has power/water been turned on or restored since construction? Running a vacuum will require a power connection. Soaping and wiping down appliances will require hot running water. Pressure washing a deck will demand both power and water. Before you gather your supplies and outline a plan to clean your construction site, ensure that power and water is working and accessible in the room where you are cleaning up.
- Do you have the right supplies? That magic eraser and your favorite vacuum cleaner have likely gotten you out of more than one mess before, but are they the right tools for a post-construction cleanup job? Probably not. Wood chips, sawdust, and industrial adhesives can shred even the most formidable household sponges and wreak havoc on domestic vacuum cleaners. Cobalt Clean recommends (and uses) vacuum cleaners equipped with HEPA-grade filters, which are designed to draw finer particulates and allergens out of hard-to-reach places, as well as industrial-grade sponges, mops, and cleaning supplies. Here is a quick checklist of some things you will need for post-construction cleaning in just about any room:
- N-95 facemask
- Rubber gloves
- Broom and dustpan
-
- Shop vacuum (with nozzle attachments and HEPA filters)
- Clean rags
- Paper towels
- Mop and mop bucket
- Stable stepladder
- Trash bags
- Are there family members or pets in your home that are sensitive to air particulates? Construction work almost always leaves behind sawdust, metal shavings, and microscopic particles that can be hazardous to people and animals sensitive to air particulates until they settle and can be effectively cleaned up. If you have sensitive or asthmatic relatives or pets, consider keeping them away from the construction site until you are confident that the area is sufficiently sterile and free of particulates. NOTE: This could take up to two or three weeks, depending on sensitivity and activity in the area.
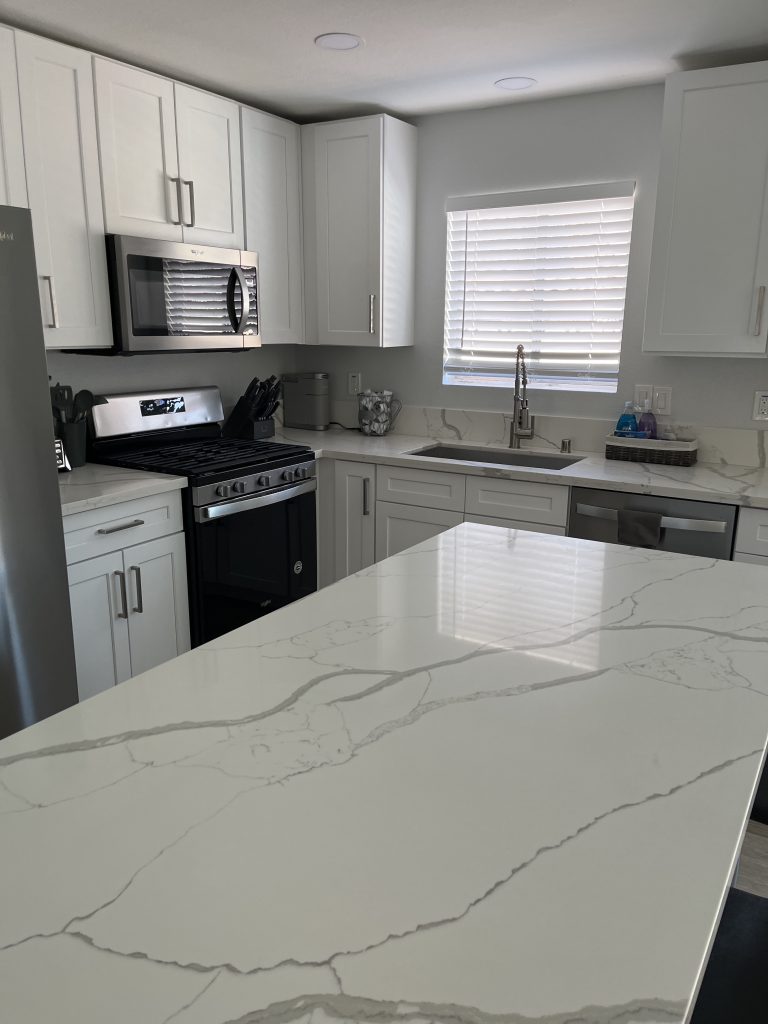
- Hard, Flat Surfaces
Cleaning hard surfaces such as featureless countertops, molding, or light switches is a gratifying first, middle, and last step for post-construction cleanup. Follow these simple steps for cleaning hard, flat surfaces—that is, surfaces completely free of bumps or grooves. Remember: As dust and particulates settle after a construction job, you will likely find yourself going over these areas more than once, as debris is most evident on clean, flat surfaces.
- Attach a narrow nozzle—with a brush head, if possible—to a shop vacuum. With serious construction jobs, it is important to not use a traditional domestic vacuum cleaner, as wood chips, broken glass, or other debris could shred the filter and destroy your favorite vacuum. Shop vacuums are high-powered industrial vacuum cleaners specifically designed for jobs that traditional cleaners cannot handle. If you do not own a shop vac, they are available for rent at most hardware stores.
- Turn on the shop vac and run it over the area, clearing it of all large and medium debris. Switch out nozzle attachments accordingly to effectively clean hard-to-reach spaces like molding joints or kitchen counter backsplashes. Don’t forget the tops of door and window frames!
- Once the area has been cleared of large, jagged debris, lightly wet a clean rag and run it over the area. Take care that your rag is only lightly damp, as wet dust turns into mud and streaks, which will be harder to remove. Follow with a dry, clean towel, paper towel, or rag. Remember that dust and debris is attracted to wet surfaces—especially in a construction zone!
- Let the space air dry after wiping clean with a dry towel and repeat steps 2 and 3 as necessary. Expect to come back to these areas more than once as dust settles from your other cleaning assignments.
- If you have a special protectant you plan on using such as Murphy’s Oil, we recommend waiting until you have gone over everything in the room at least once, to avoid dust and debris from other places settling on the surface and being sealed in.
- Soft Surfaces
This is the place where many veteran do-it-yourselfers become discouraged. If you plan on cleaning your own furniture or carpeting after construction, be prepared to spend well over an hour on the carpeting in just one room, and over 30 minutes on a single sofa. This process is simple, but can be very time consuming when done the right way.
- Using your shop vacuum, attach the appropriate nozzle and run it over the dry target space.
- Do it again.
- Do it again.
- Run the vacuum one more time. Post-construction debris and fine particulates love the crevices and corners of a soft couch or a plush recliner. If your construction crew has not laid down sheeting or some sort of protective cover for your carpeting or furniture, you could have shards of glass or wood chips hiding deep in the most comfortable spaces in your home. Ouch!
- For an extra deep clean, consider steaming furniture and shampooing carpets. Again, this last step should only be taken when you are confident that all hazardous debris and particulates have been removed from the area, as steaming and shampooing are time-consuming projects, and performing them too often or too many times can compromise the structure of sofa and chair cushions, as well as the softness of your carpet. For this reason, Cobalt Clean does not offer steaming or shampooing services.
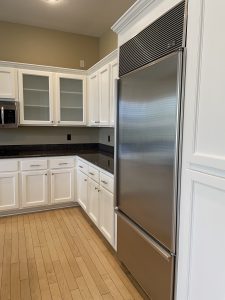
- Appliances, Windows, and Tile
Cleaning appliances, windows, and tilework after a construction job are unique processes that follow a similar pattern: Clear, seal, clean. Following these steps in this order will keep appliances and windows scratch-free, and extend the life of your tilework.
- Clear – Firstly, surface dust and debris should be eliminated as much as possible without touching the surface or getting it wet. For appliances, this can mean using a pressurized air hookup and/or a shop vacuum to blow and/or suck out construction residue from nooks and crannies, such as in the joints of sink handles or the burners of stoves. For windows, this involves wetting the glass with water or a glass cleaner and using a squeegee to wipe it clear. If weather permits, open the window and use a pressurized air hookup and/or shop vac to remove dust and debris from the interior of the windowsill. For tile, a traditional cleaning with a shop vacuum will suffice for this step.
- Seal – This step is important to ensure the longevity of your appliances, windows, and especially any tilework. If your appliances have been taken apart during construction, reassemble them as they should be. This is when you make sure that things fit back together as they should. Do windows shut securely without needing to be forced closed? Do detachable sink heads click snugly back into place without falling out? Do refrigerator or oven doors seal shut? If not, repeat step 1 as necessary. New bathroom counters should not come at the cost of functioning sink handles, or any other appliance for that matter. This is a great opportunity to check to make sure that everything post-construction or -renovation is working as it should.
Note: a handy house cleaning checklist that we follow to a T is available here.
Is your tile and grout (the space between the tiles) completely sealed? Unsealed or improperly installed tile or grout is prone to mold buildup and shifting or cracking. Grout is notoriously tedious to clean—especially when it is riddled with cracks or holes that can play home to fungus and mold. Correctly sealing your tilework is an important part of installation, and is absolutely imperative to its maintenance. After the area has been cleared of dust and debris—and while it is dry—check to make sure that there are no bubbles, crevices, or holes in your tilework. NOTE: Not all tilework needs to be sealed. Some tiles, like ceramic and porcelain, will not need to be sealed. If you did not lay down your own tile, check with your tile installer or the Internet if your specific project requires this step. This is still a good opportunity to look it over and make sure that there are no cracks or loose spaces.
- Clean – After—and only after—windows, appliances, and tilework have been cleared and sealed, they can finally be cleaned. Different appliances will take different cleaning products (please do not use your oven degreaser to wipe your bathtub clean), but generally natural, organic compounds will complete the job without running the risk of permanently ruining the face of your appliances. Cobalt Clean exclusively uses environment- and kid-friendly cleaning products for post-construction and all other cleanup projects. When cleaning windows, remember that dust and harmful debris usually takes many hours to settle in a still room, and many days to settle in high-traffic areas. To avoid scratching windows after spraying them with your chosen cleaning compound, try using a squeegee to move the liquid to the edges of the glass, then wipe clean with a soft cloth.
- Ventilation Systems
If you performed your home construction project yourself, you probably realized at some point just how big a role air flow plays in the process. HVAC systems left on during construction or turned on too soon after can be permanently damaged by debris. This is part of the reason power is generally turned off to the area in question—and if not, HVAC covers are (or should be) sealed off. There are few things more disheartening than finally completing your post-construction cleanup only to turn on the air conditioner and have sawdust immediately blown all over your new, clean countertops and floors. To prevent from foiling your own hard work, follow these steps to remove dust and debris from ventilation systems:
- Remove vent covers. Even if air vents have been sealed off for your construction project (as they should be) dust and dander may have settled while air was not flowing. Vent covers should be removed and thoroughly cleaned.
- Vacuum standing debris out from the walls of your air duct.
- Don’t forget fans and light fixtures! Safely climb a stepladder to be able to comfortably clean the length of your ceiling fan. Remember to first vacuum as much dust and debris as possible, then wipe clean.
Post-construction cleanup is no joke. For this reason, most Americans prefer to outsource the job to licensed professionals, to ensure a safe, clean space for their household. Cobalt Clean is proud to offer the Las Vegas valley’s premier post-construction residential cleaning service at competitive rates.
Click here if you would like to book the #1 Las Vegas cleaning service.


Leave A Comment